Docs
Login
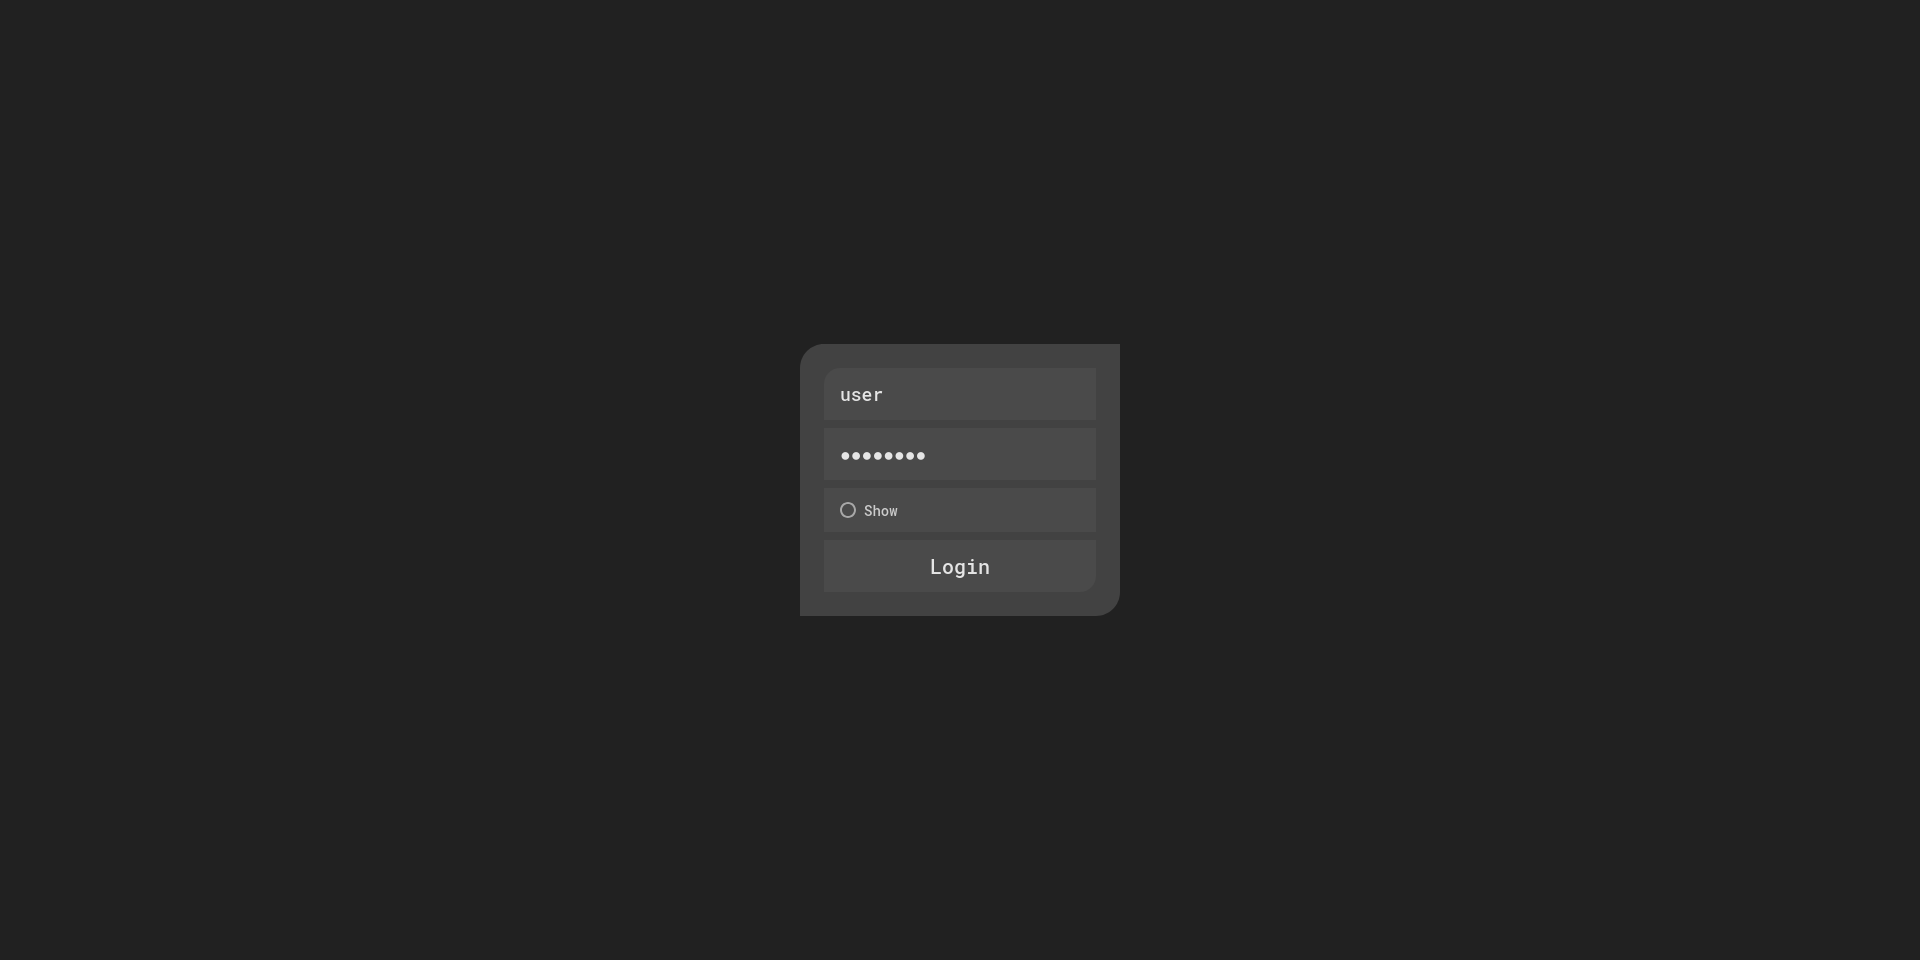
Before you can do any data labeling, you need to log in
You can log in at /login with your credentials
App
After you've logged in, you can continue into the app
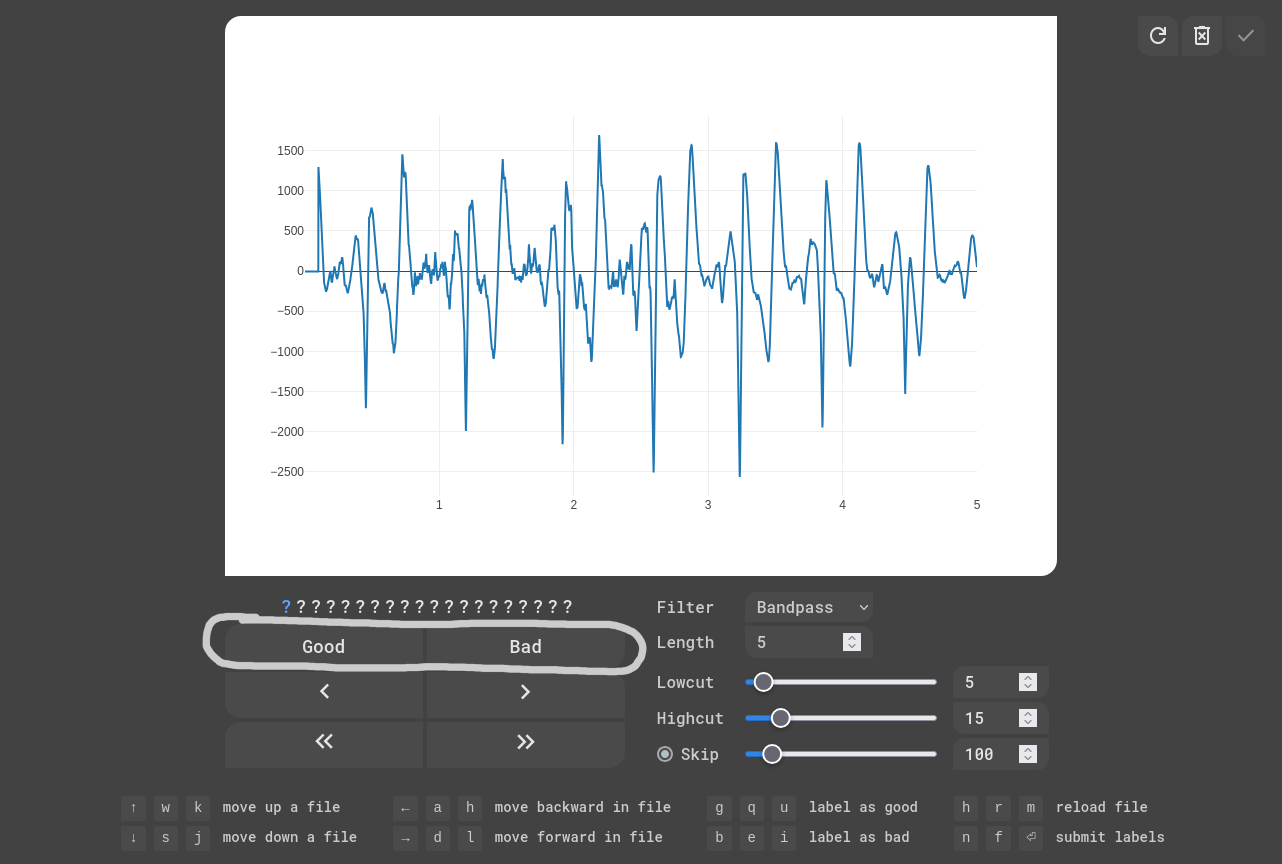
Once the page loads, you should see something like this
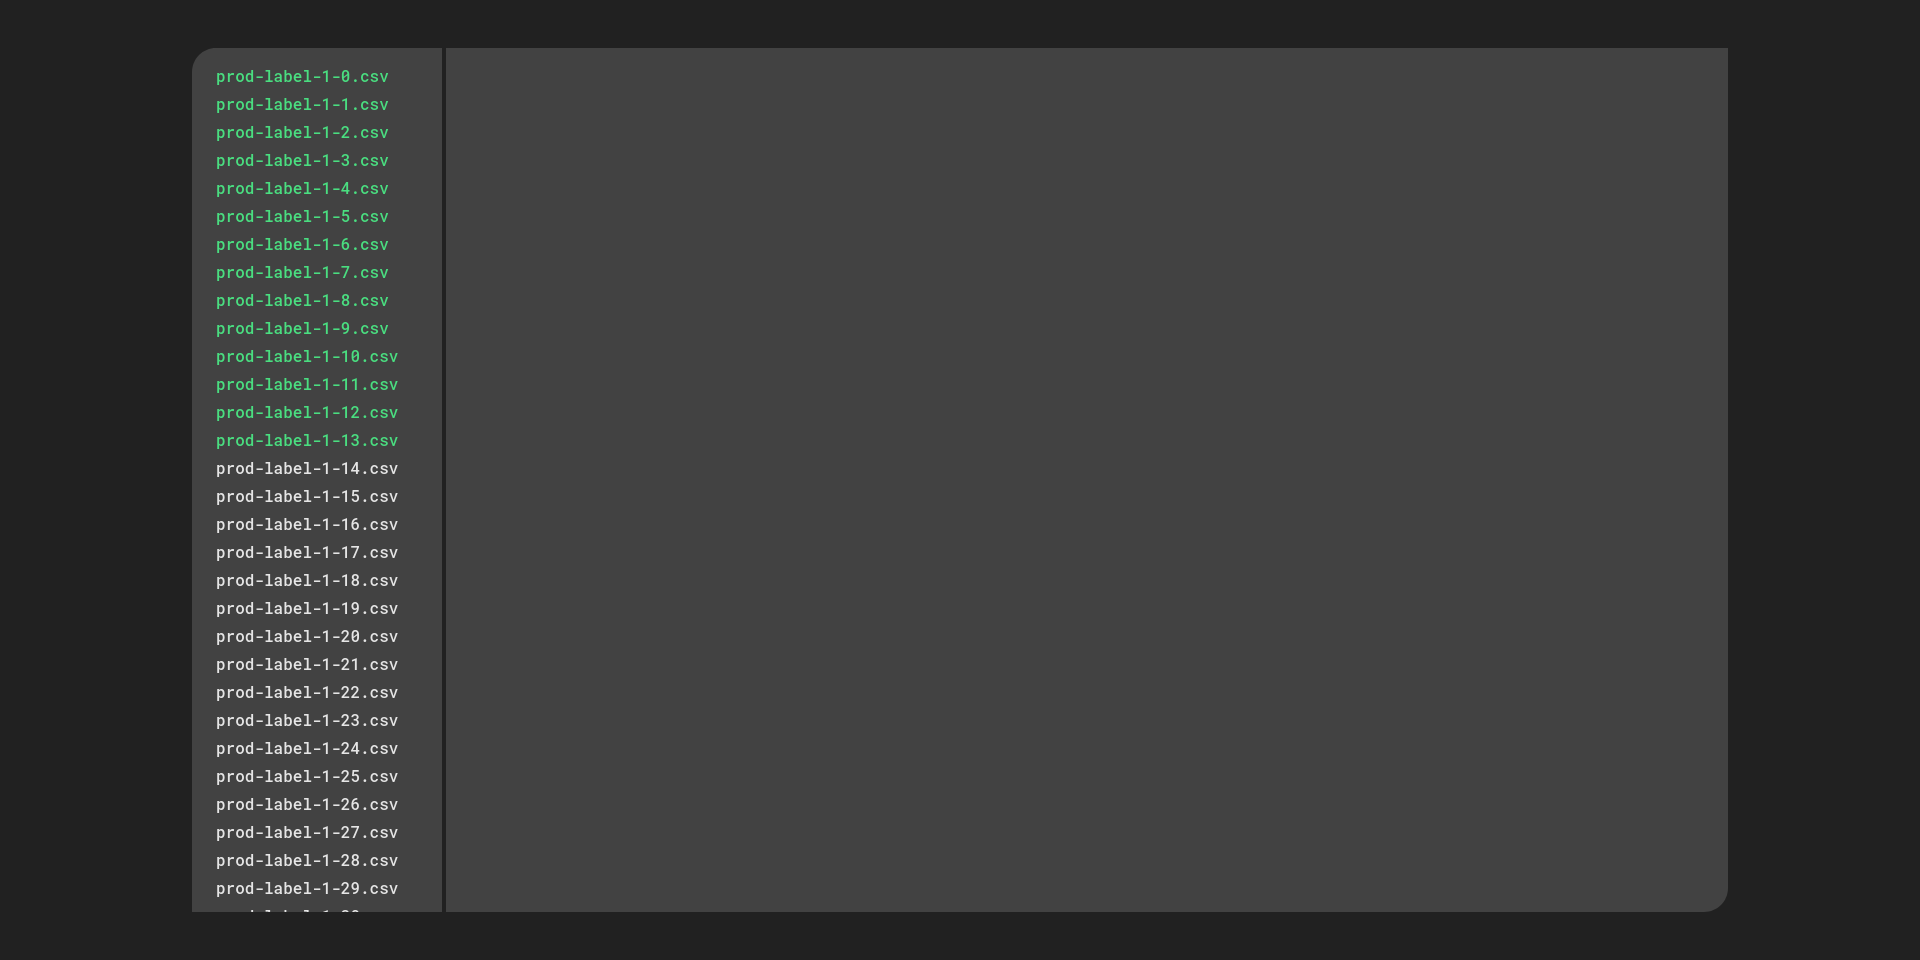
You can see a list of files on the left, these include the EKG signal
The green files have already been labeled
You can click on a file to select it, turning it blue, it should look like this

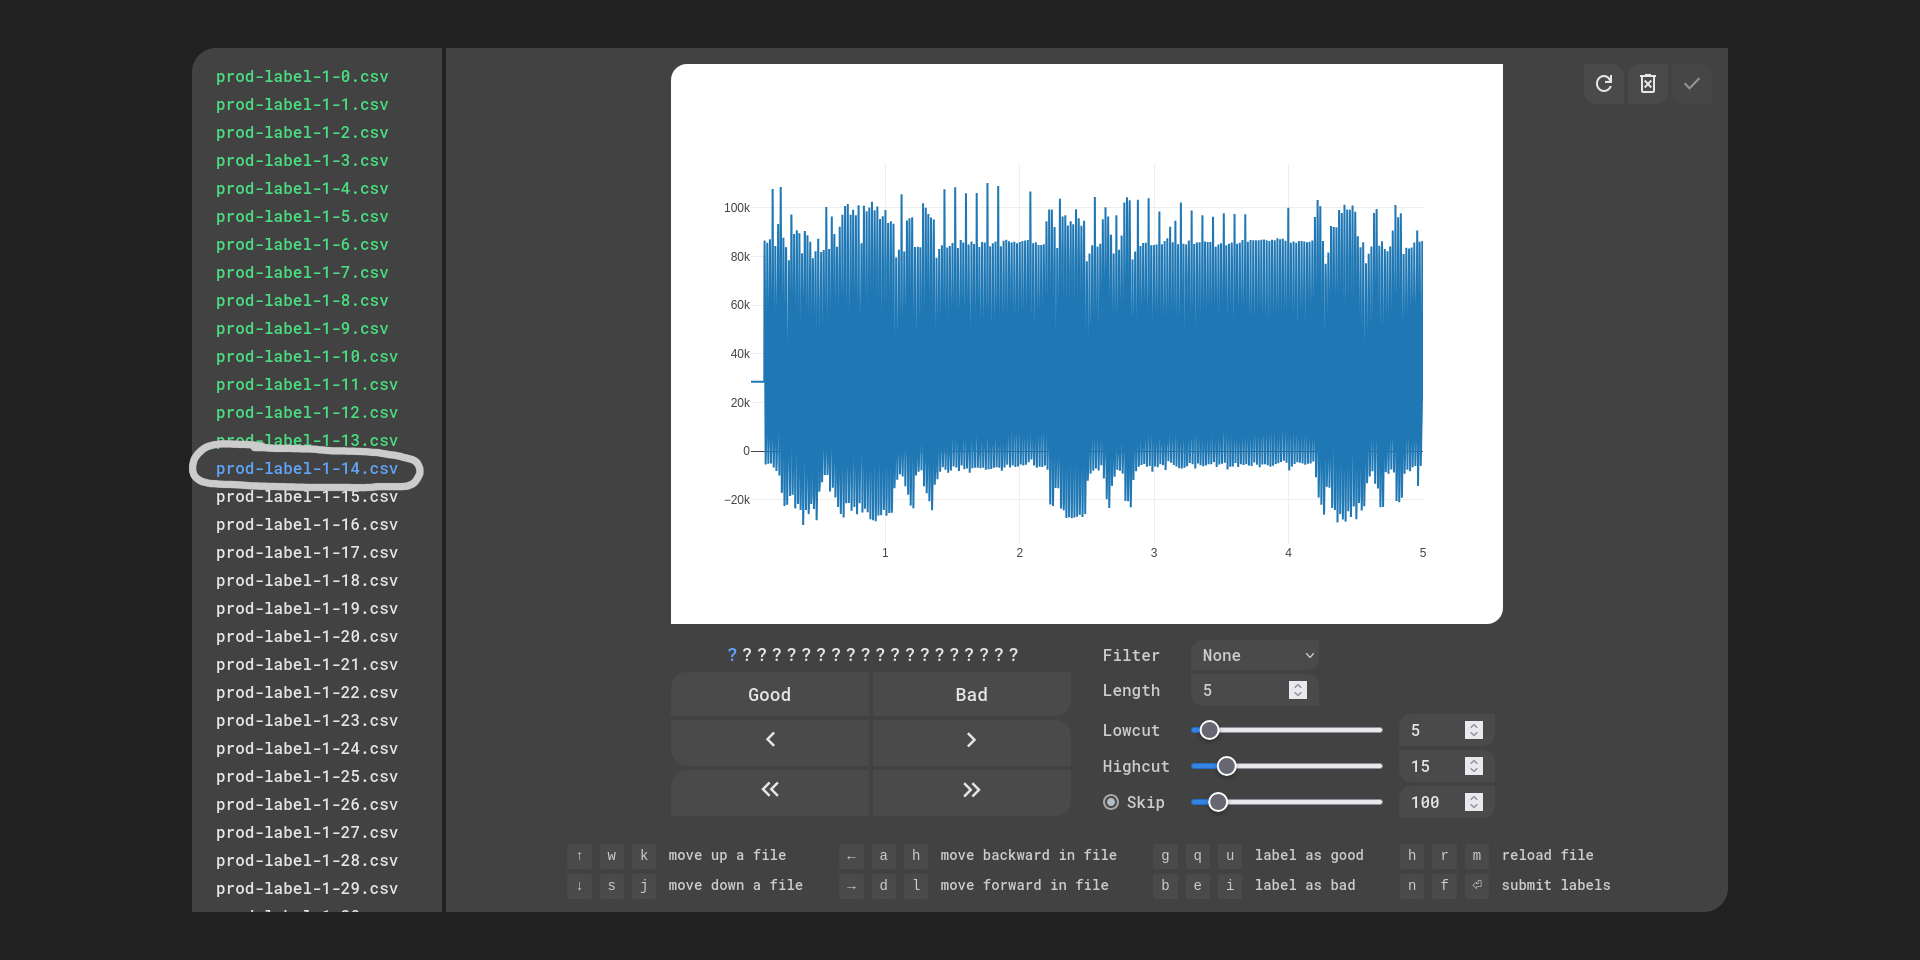
Blue file is the one you are currently labeling, you can deselect the file by clicking on it again
Remember, you can only select one file at a time
You can see a lot of settings, which we'll get to later, but just know that they are saved in local storage so they stay the same even if you reload the page
Length
Each file contains 100 seconds of EKG signal at 1kHz (1000 samples per second), but only a few seconds will be displayed on the graph
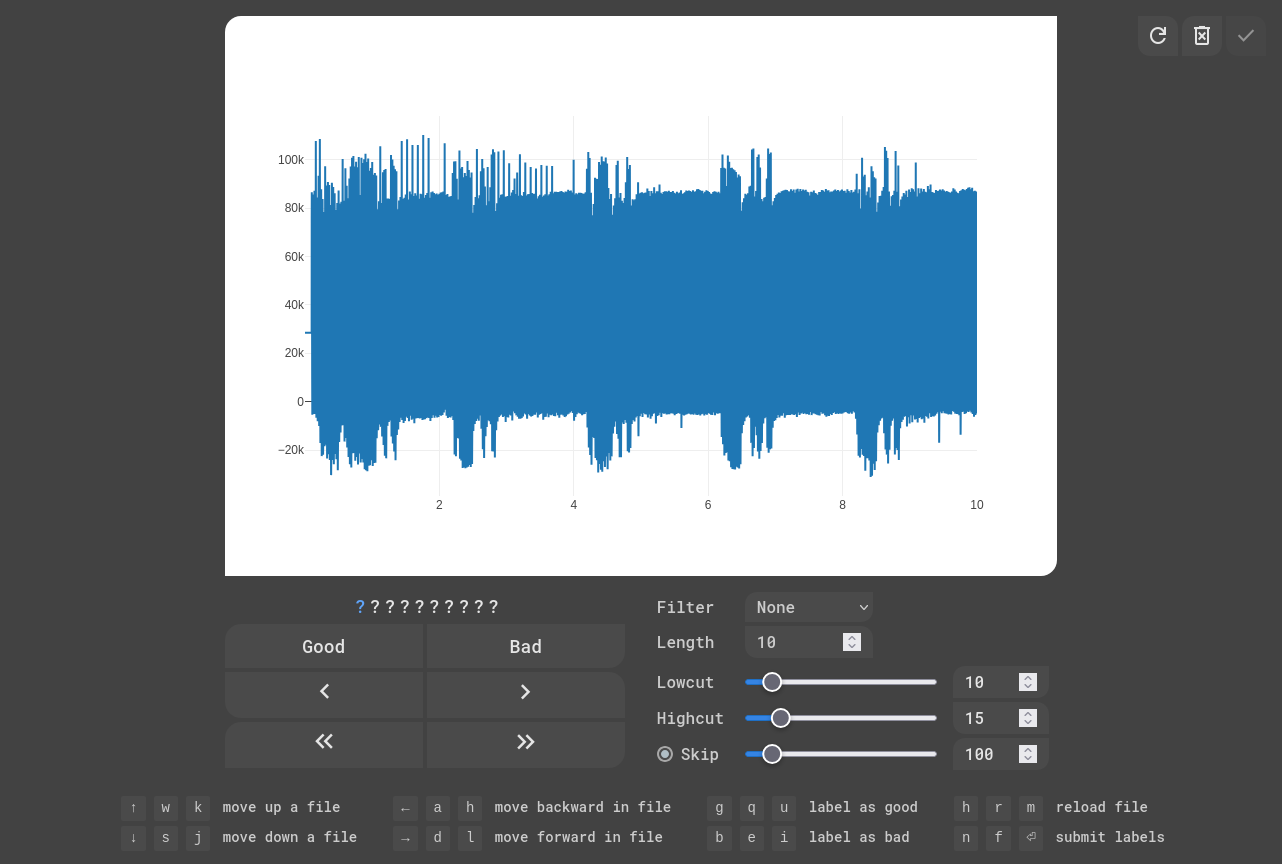
You can change how long (in seconds) the graph is by changing the length
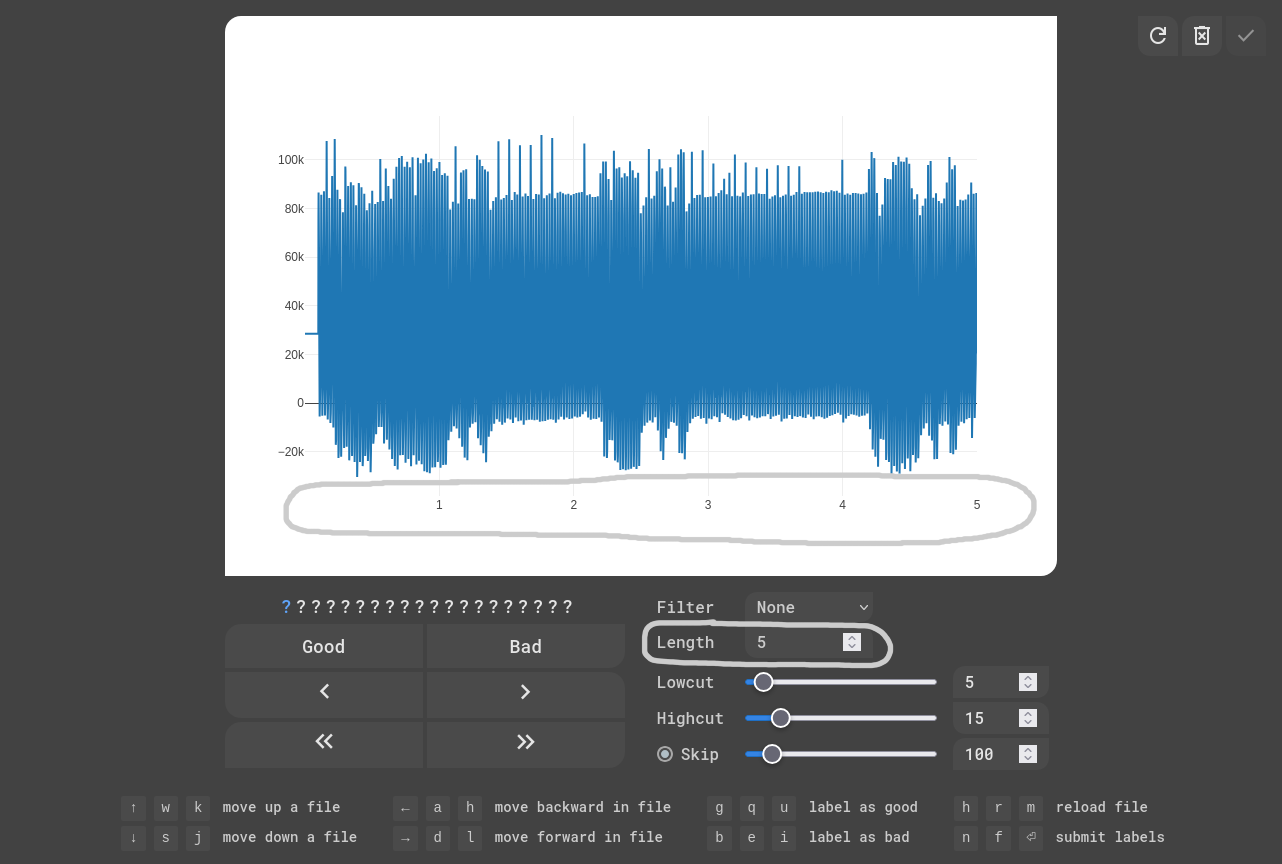
Changing the length will change the size of the graph (in seconds)
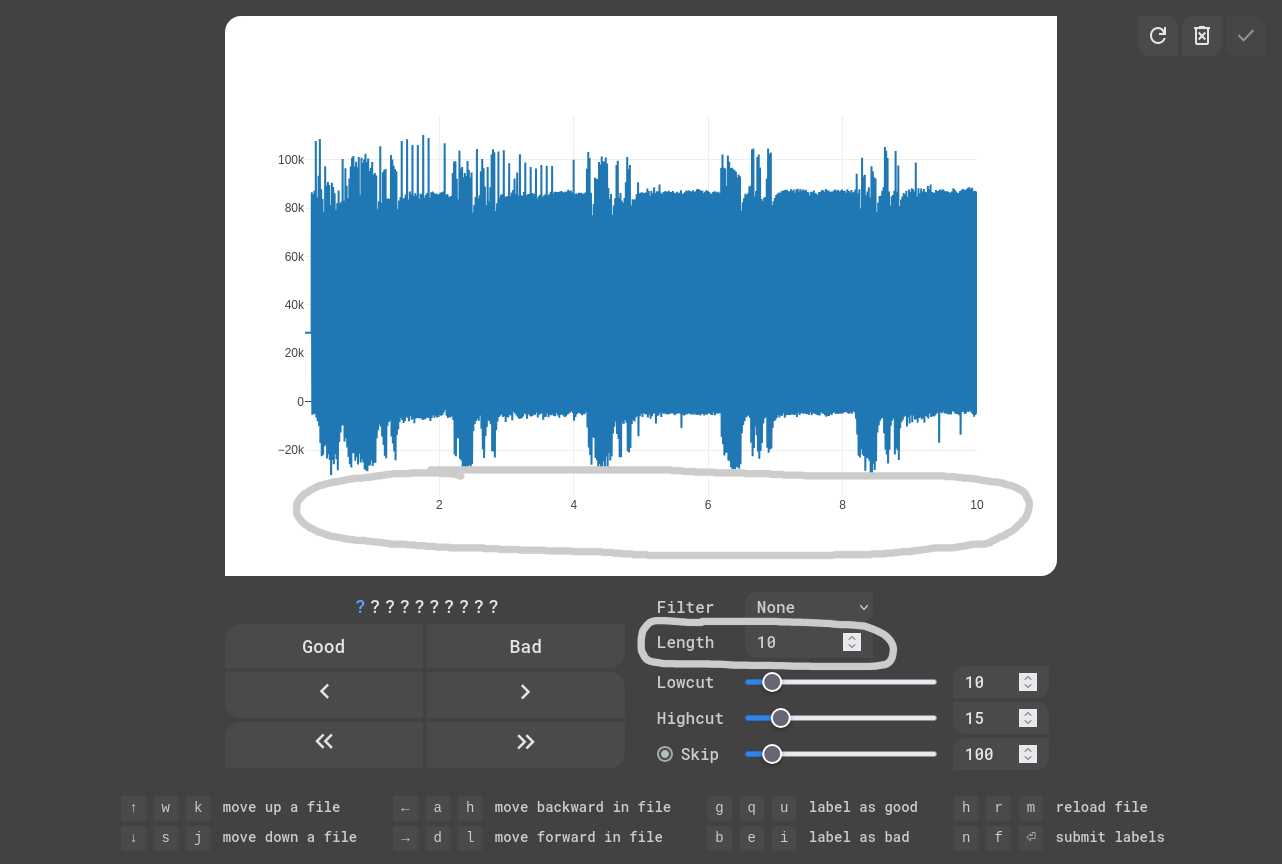
However, we strongly recommend for the length to be kept at the default of 5
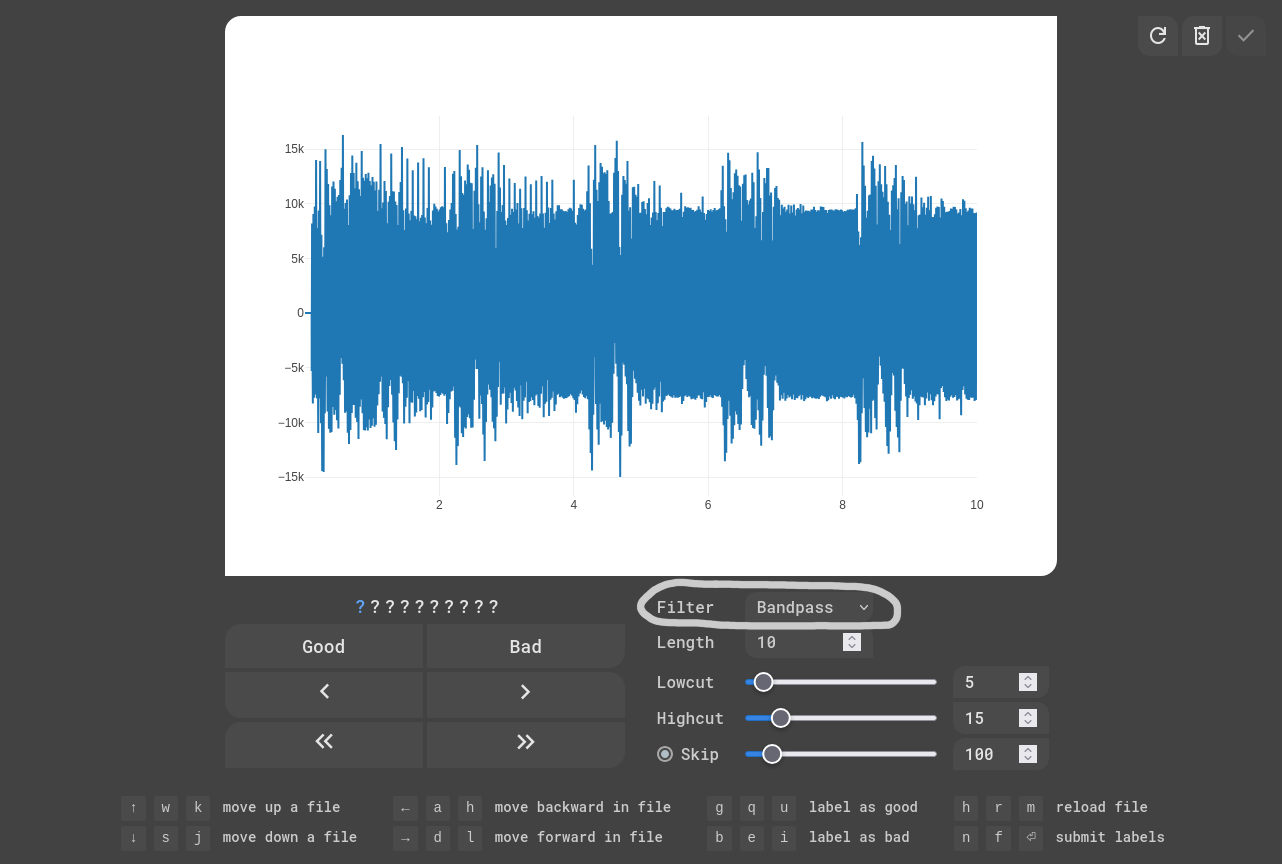
Filter
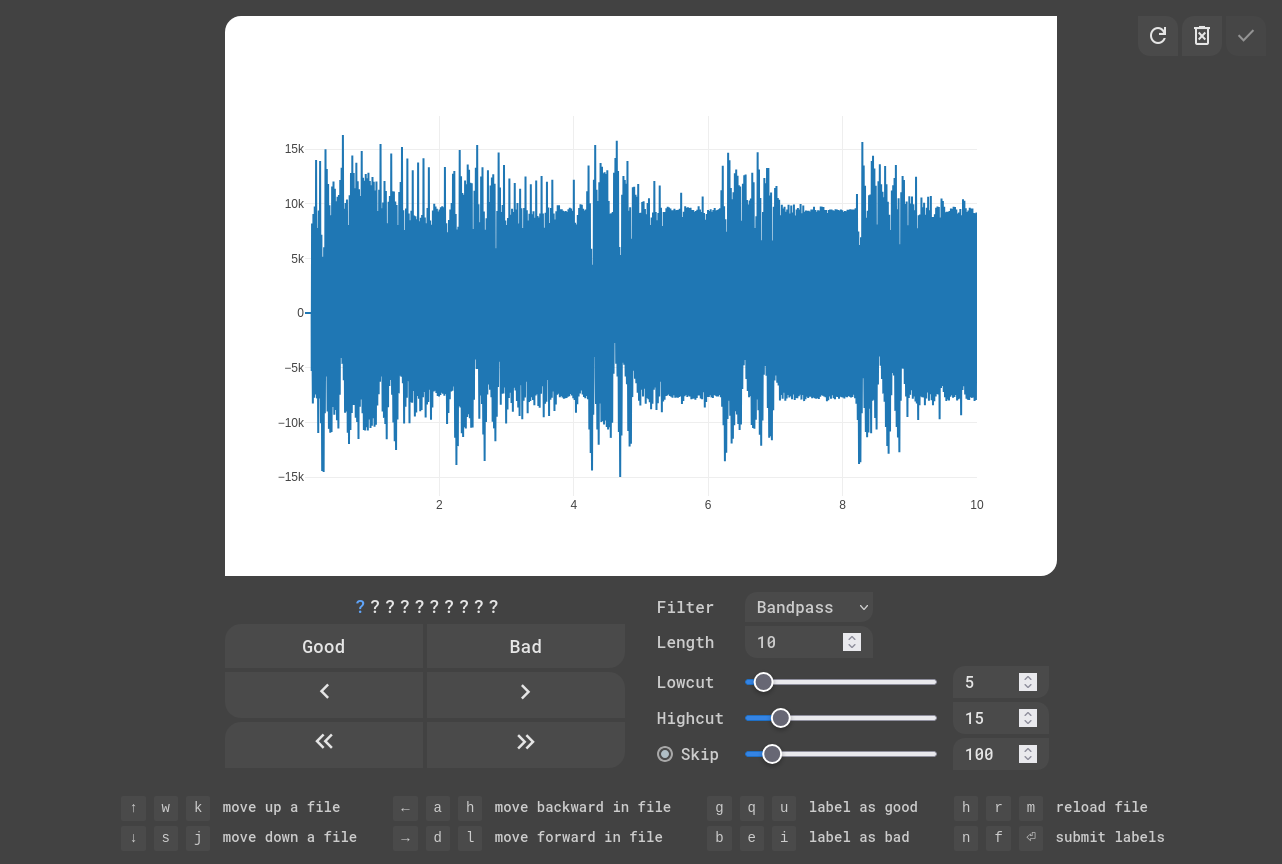
Most of the time, the raw data itself looks bad, even if it was recorded properly
So we have to use a filter to make it look better
By default, you won't have any filter on, so the first thing you should do when starting the labeling process is make sure that the filter is set to bandpass
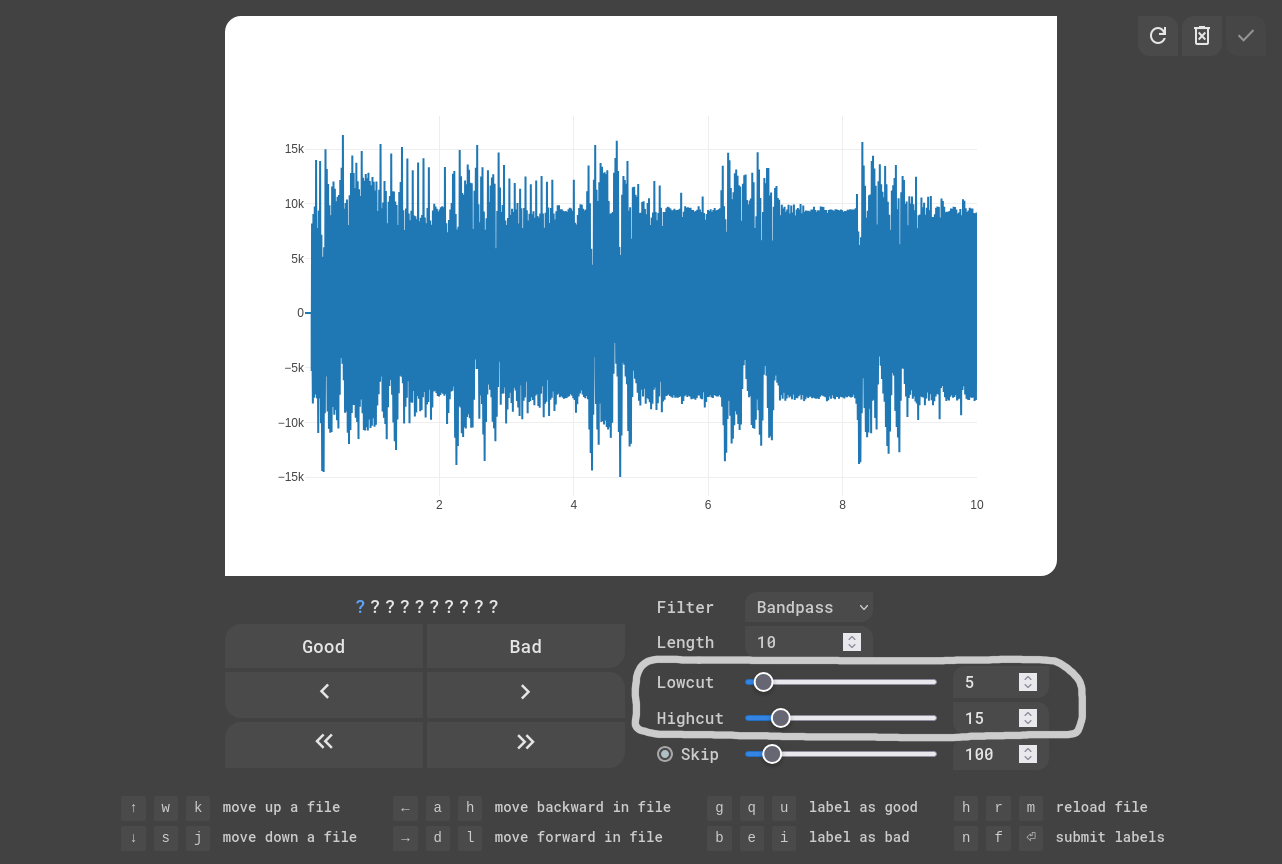
Lowcut and Highcut
You can also control the filter using the lowcut and highcut settings
But we recommend you leave them set to their defaults ( lowcut = 5.0 and highcut = 15.0 ), as these values have shown to result in the best looking graphs

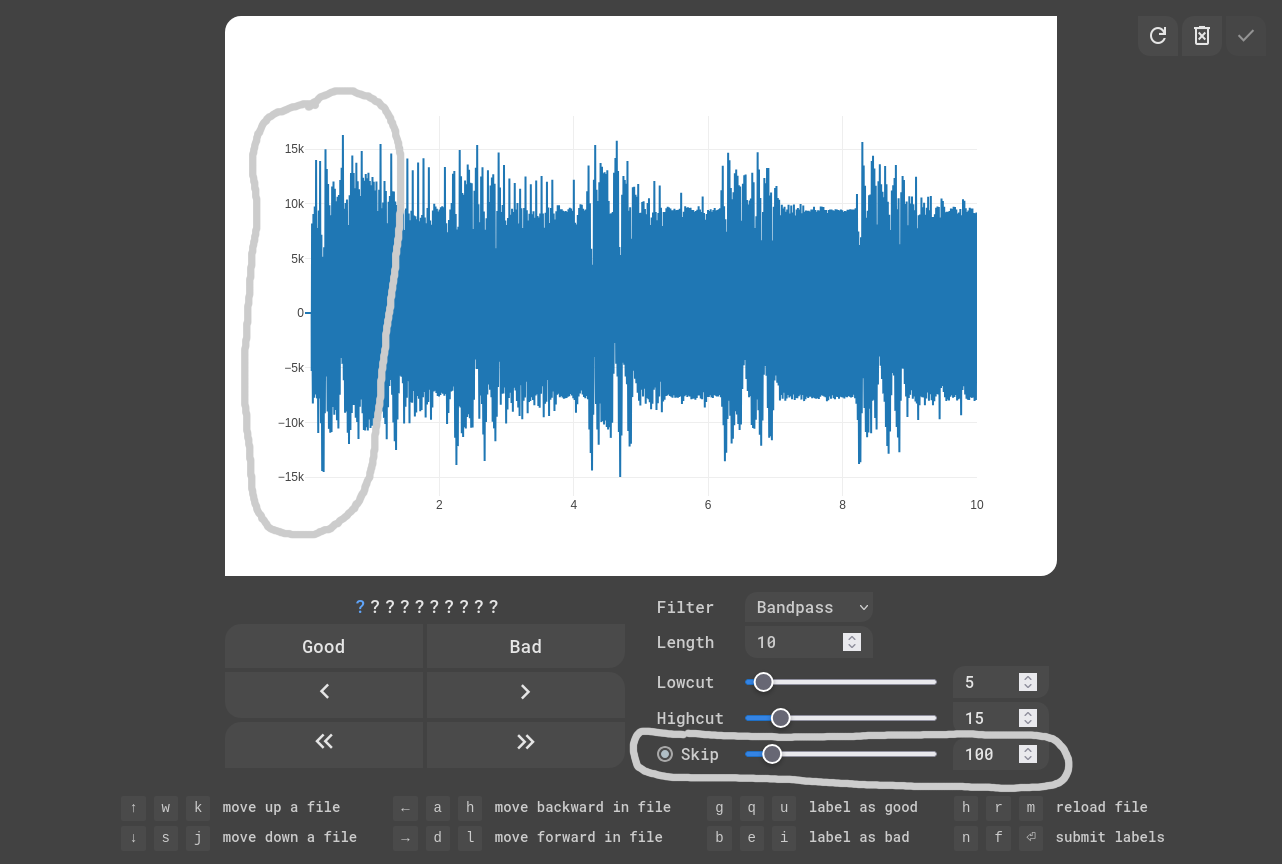
Skip
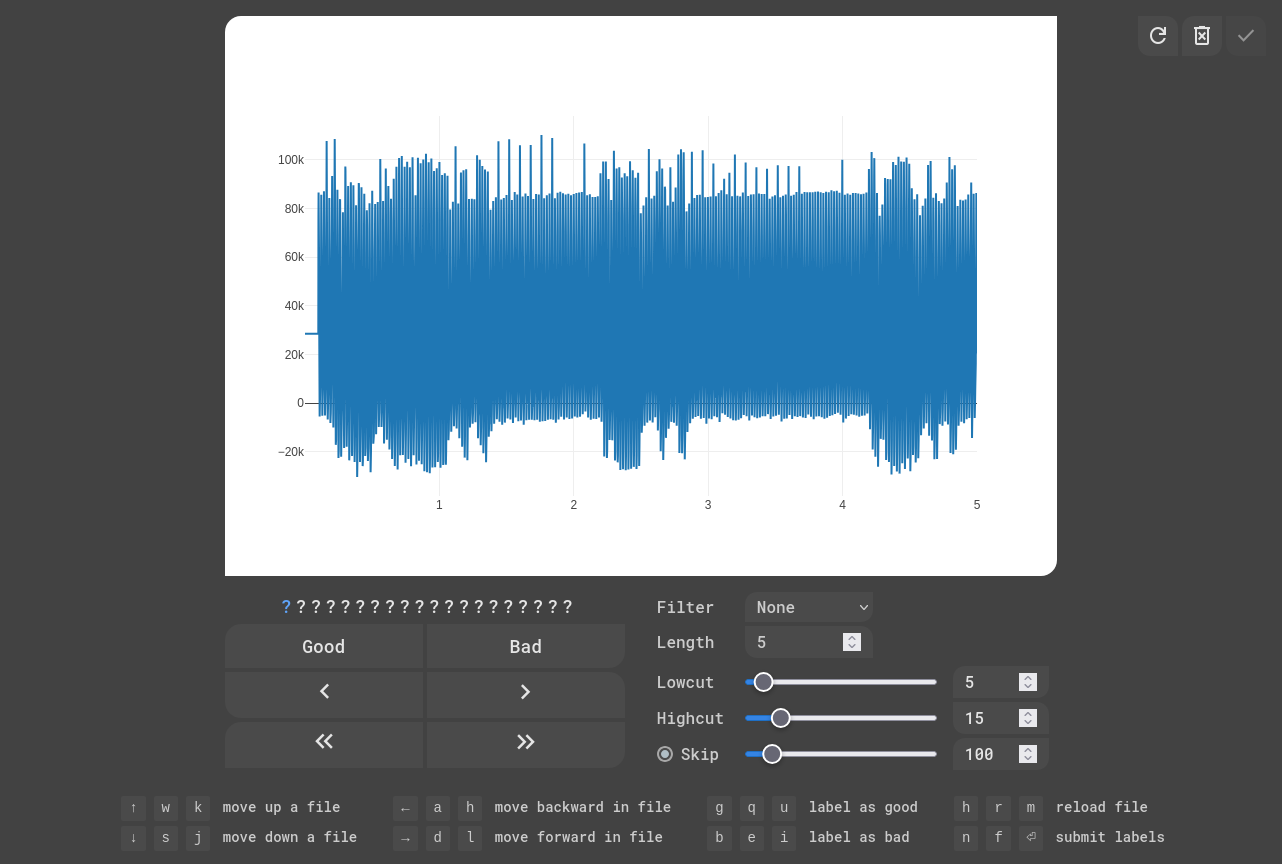
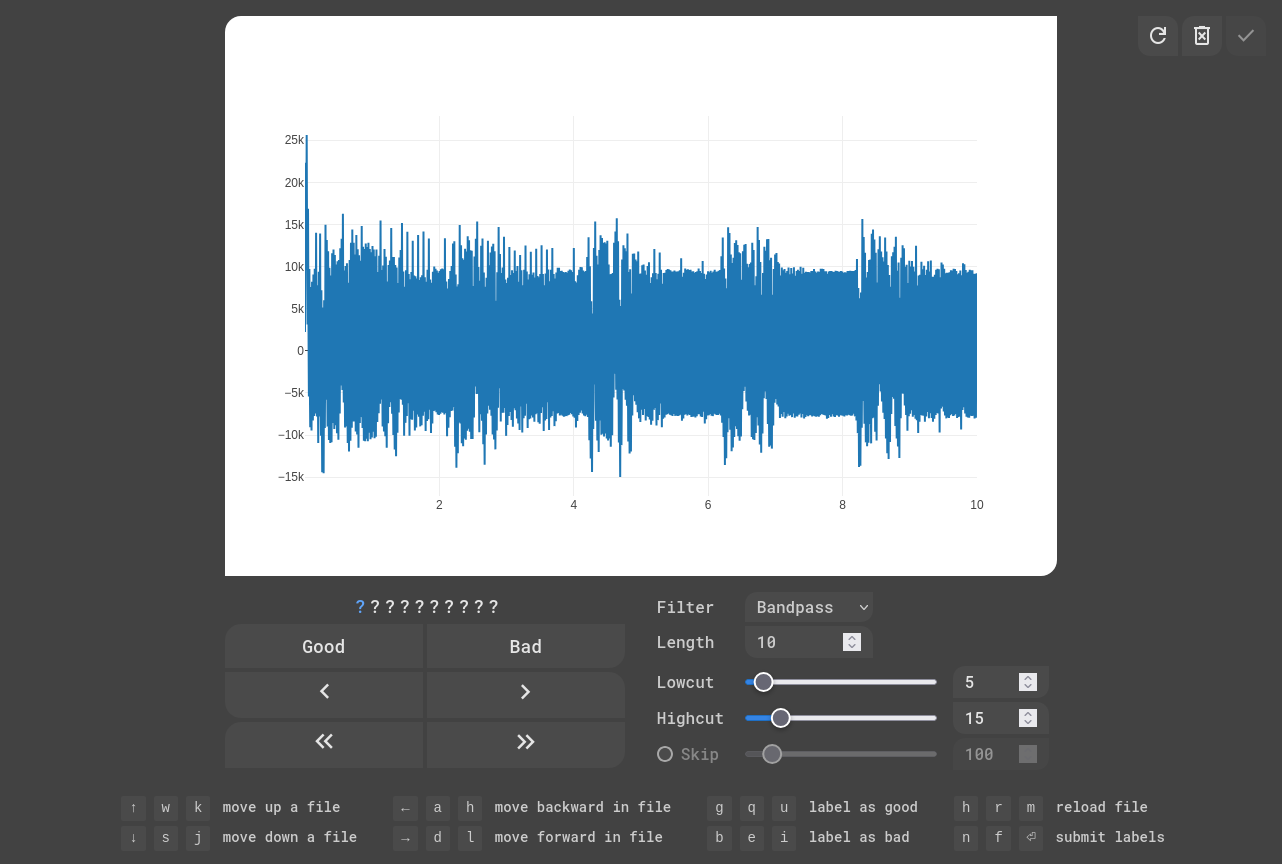
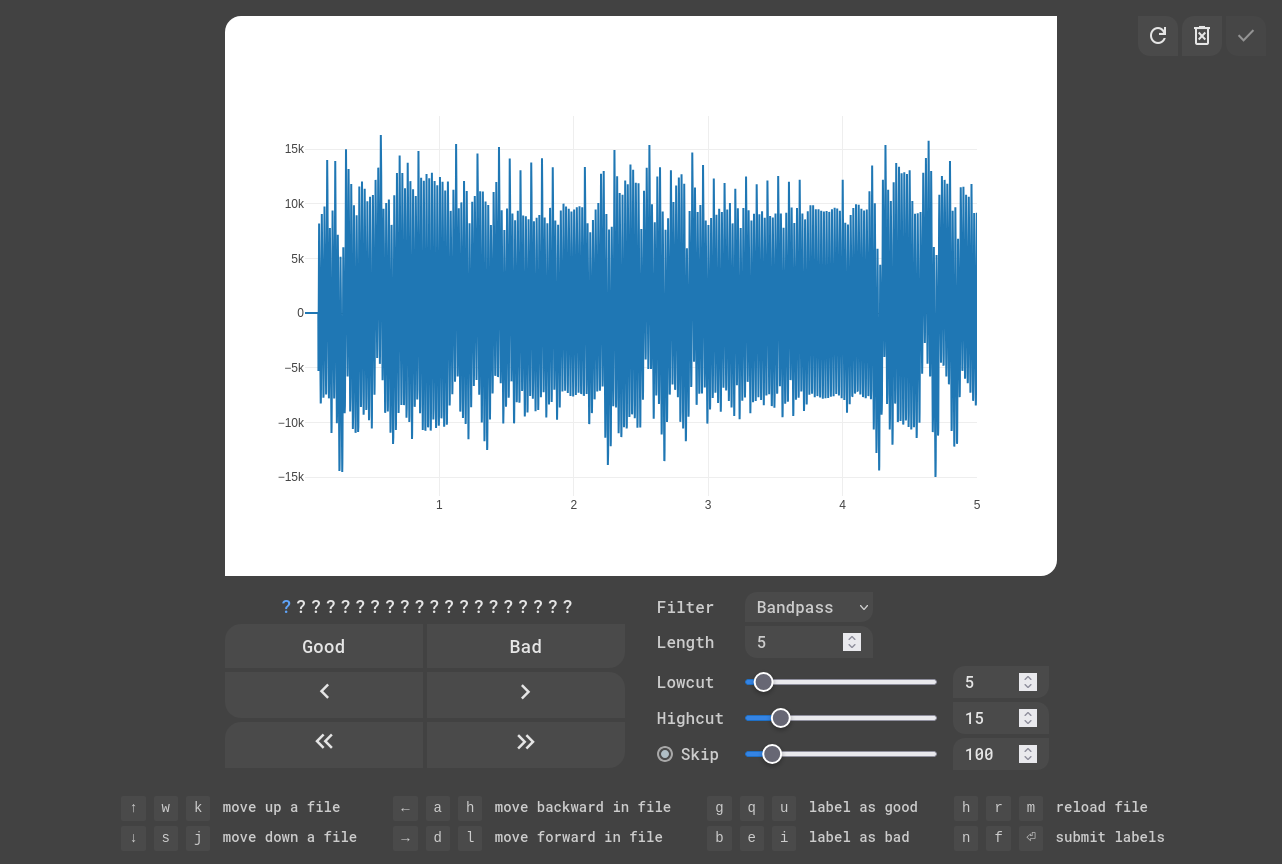
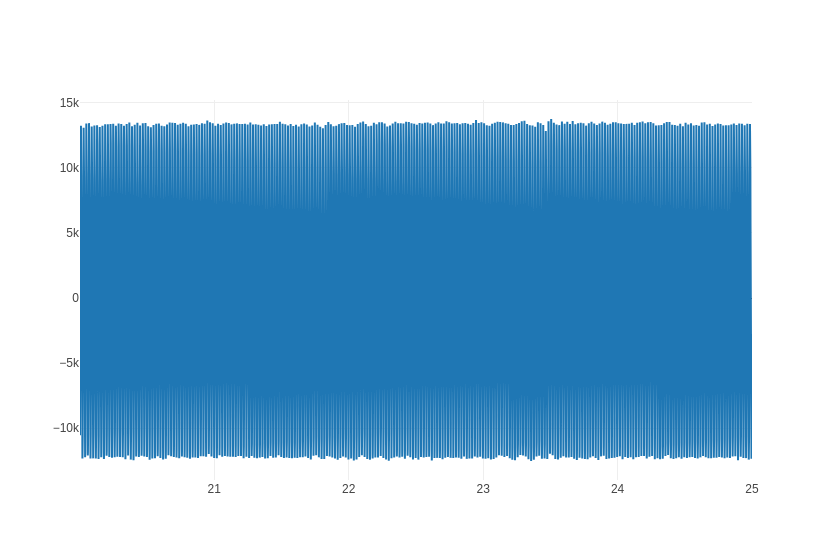
Sometimes, the bandpass filter does some weird things and messes up the first couple milliseconds of the graph
That's where you can use skip to ignore those first few milliseconds so they don't mess up your graph

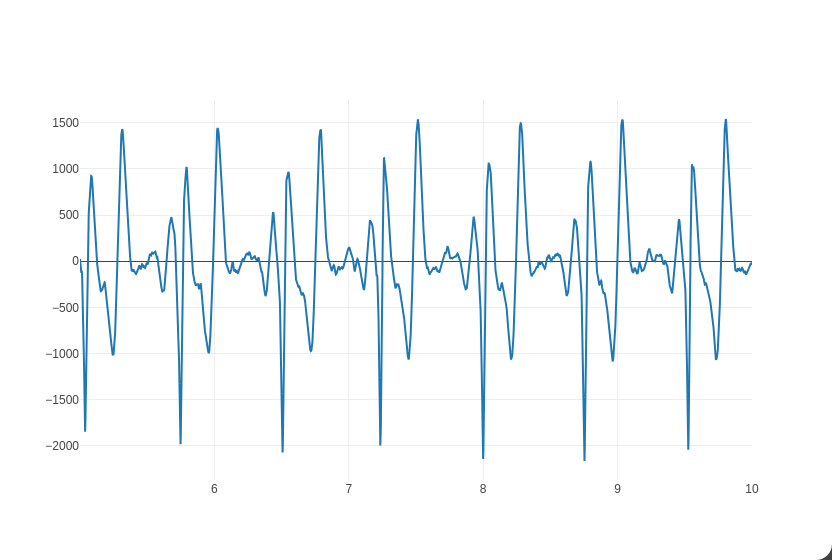
Where as without skip, the graph would look something like this
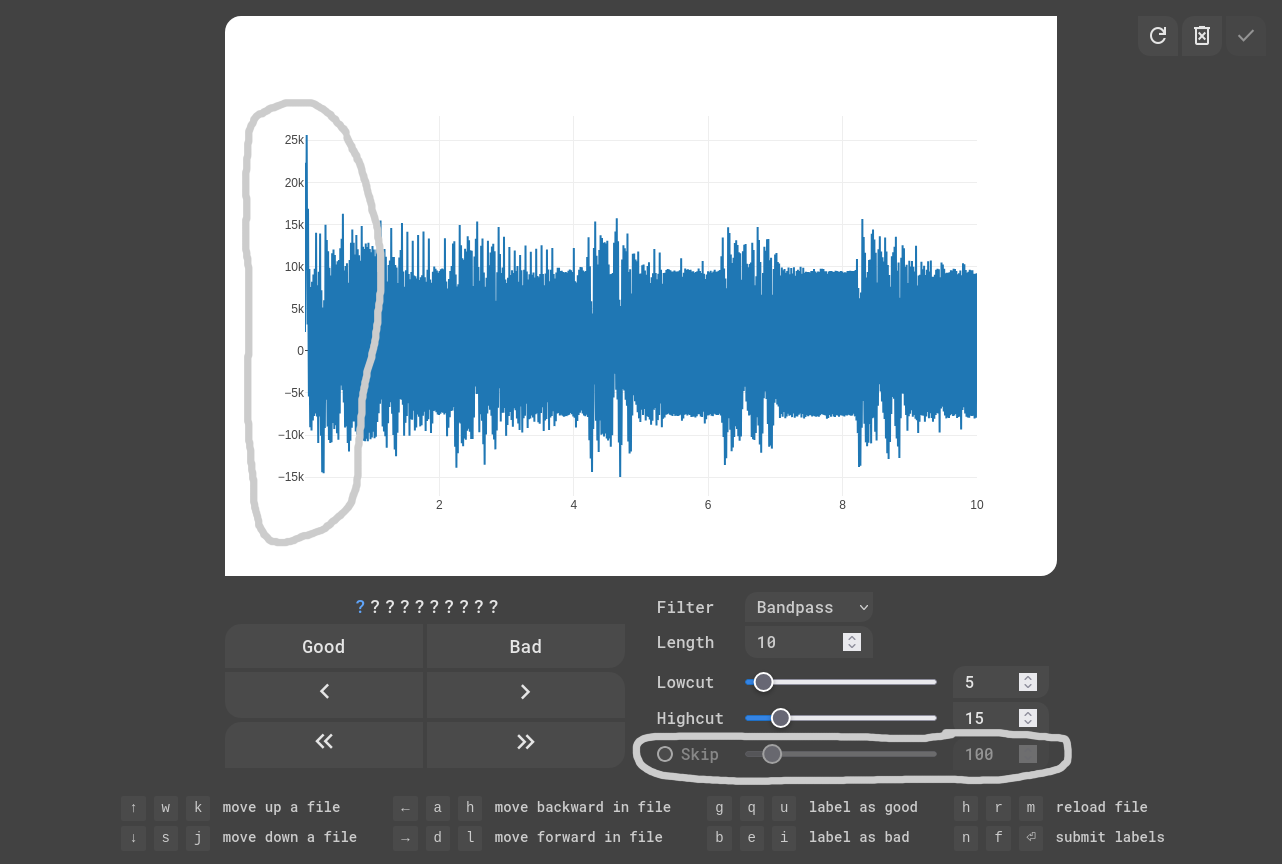
The number next to the skip tells us how many milliseconds at the beginning of the signal will be skipped
We recommend you leave it set to default (100 milliseconds)
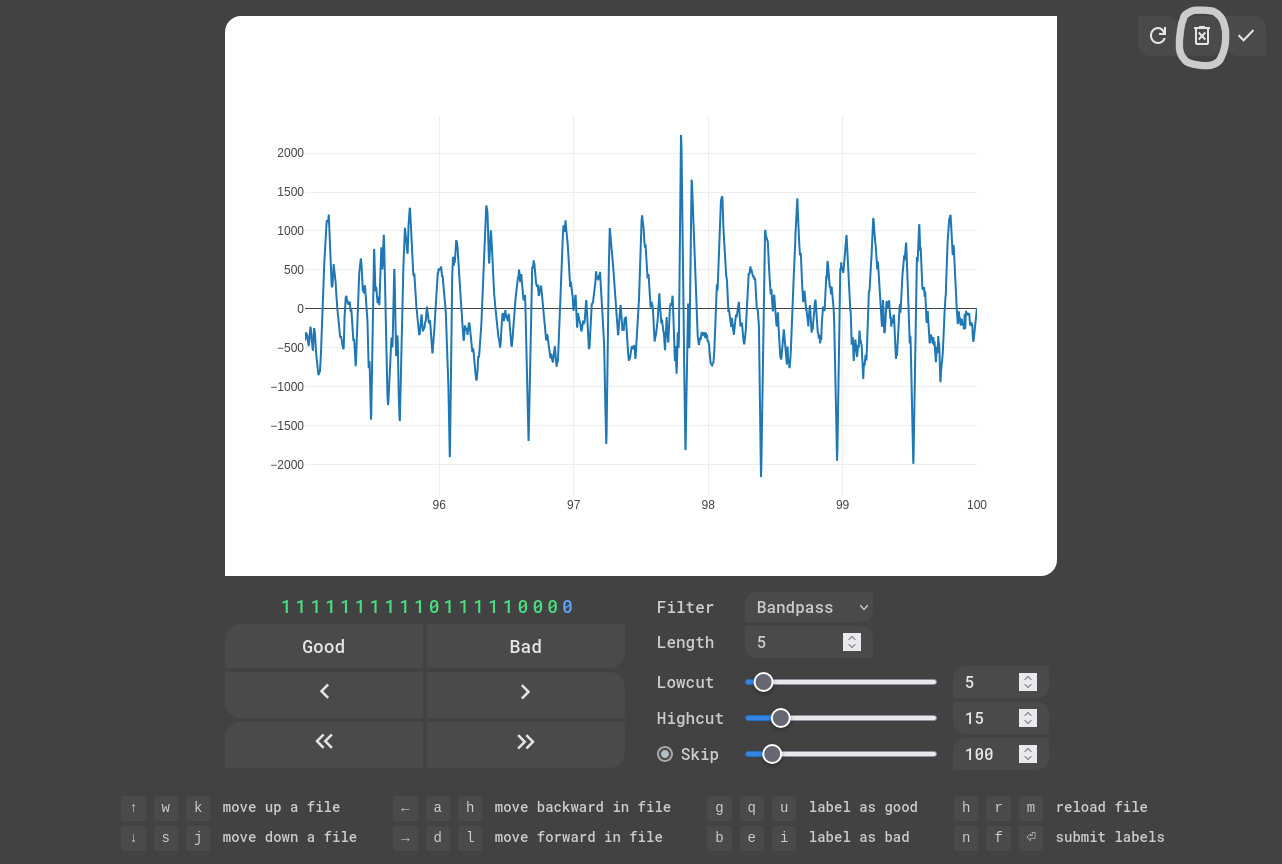
Bitfield
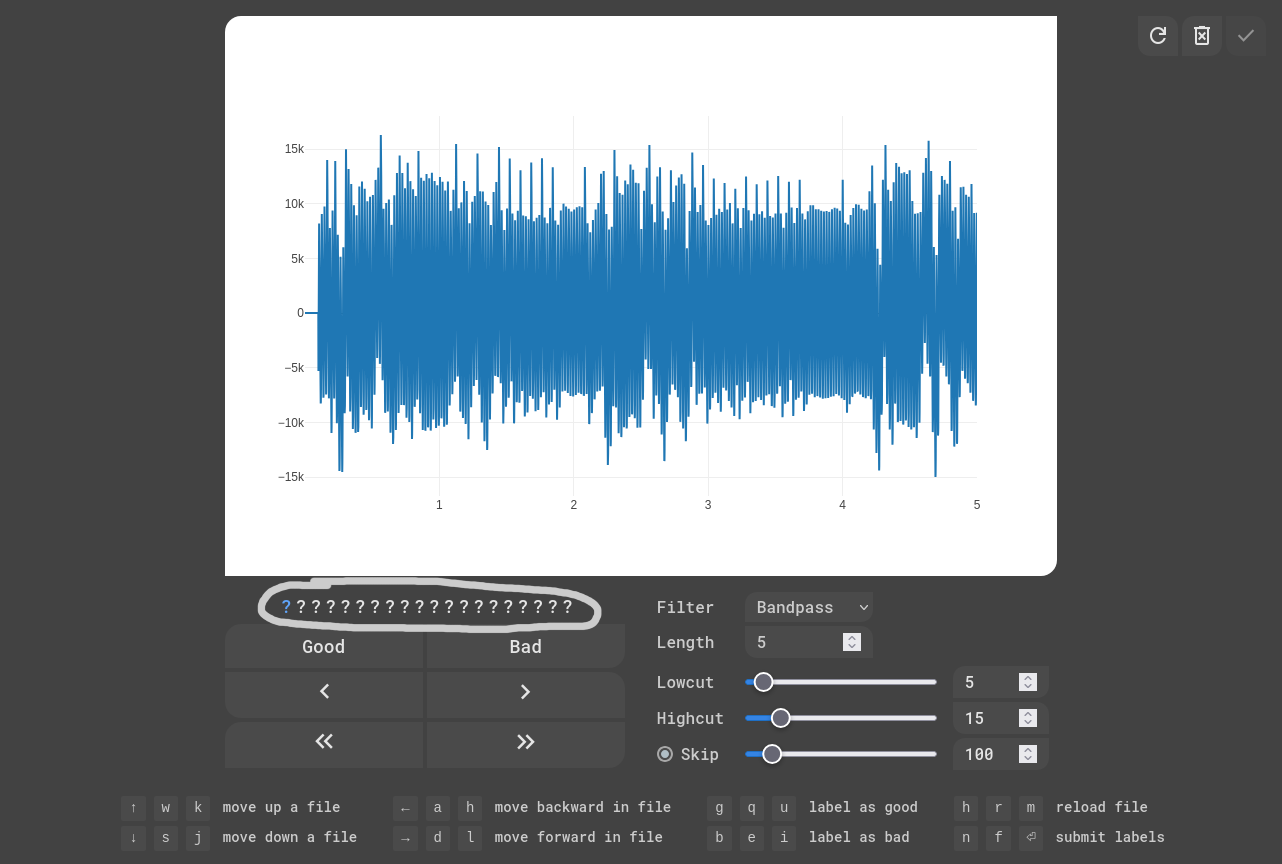
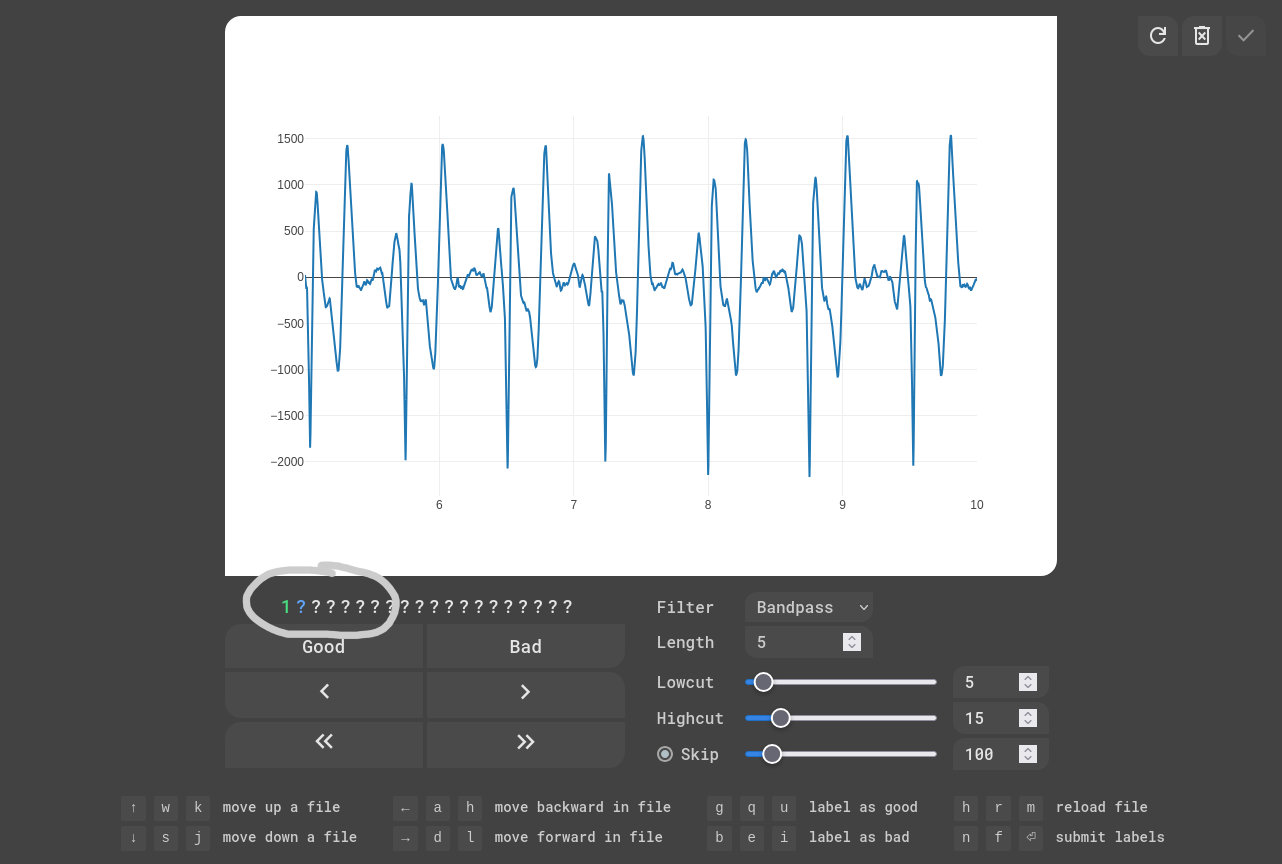
Bitfield is the goofy little thing full of question marks on the left above the buttons
It tells us what hasn't been labeled (?) and what has been labeled (1 for good EKG and 0 for bad ekg) in the file
And since each file has 100 seconds, there will be 100 / length bits in the bitfield, where each bit represents a chunk that is length seconds long
For example, for the length of 5, there will be 20 bits, for the length of 10, there will be 10 bits, and for the length of 20, there will be 5 bits, and so on
The bitfield is a core mechanic of the labeling system, and in a moment, you'll learn how to label chunks
Labeling
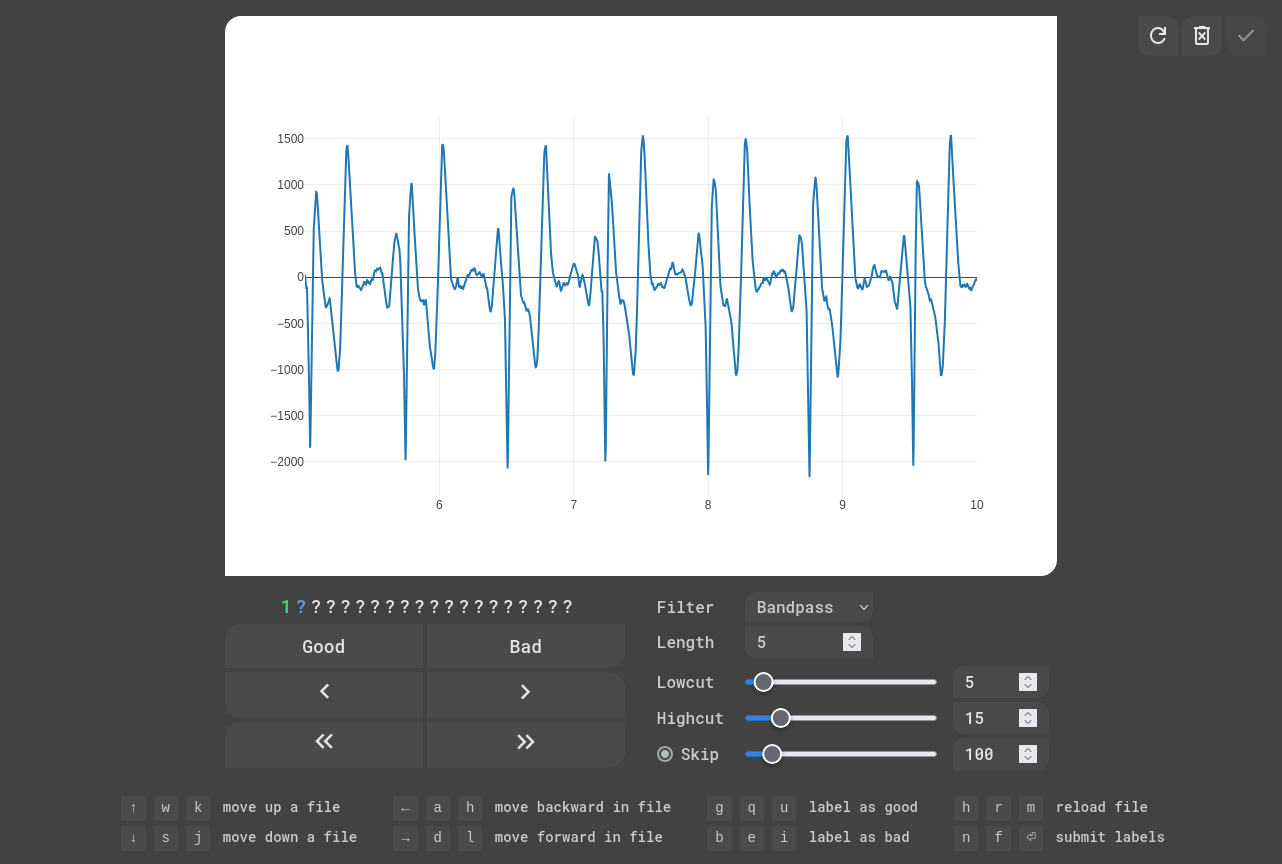
When you look at the graph, you'll see the current chunk
Your goal is to determine whether the current chunk holds a good EKG signal or a bad EKG signal
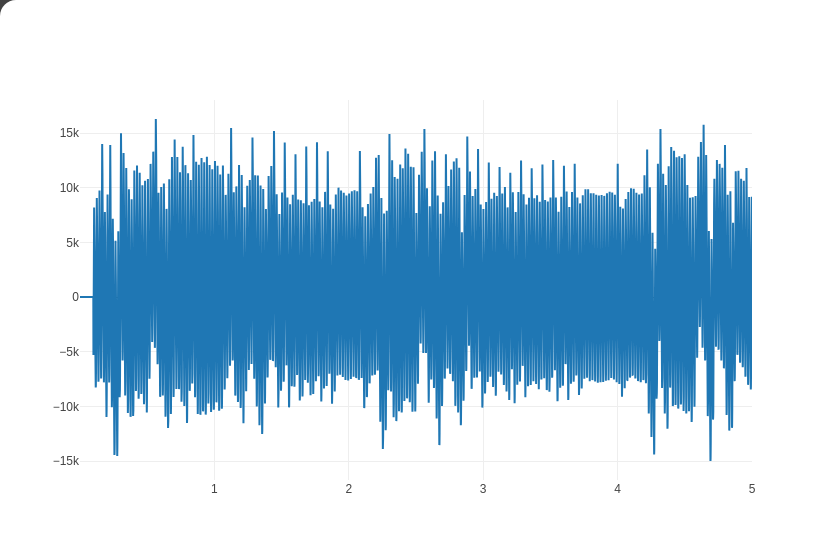
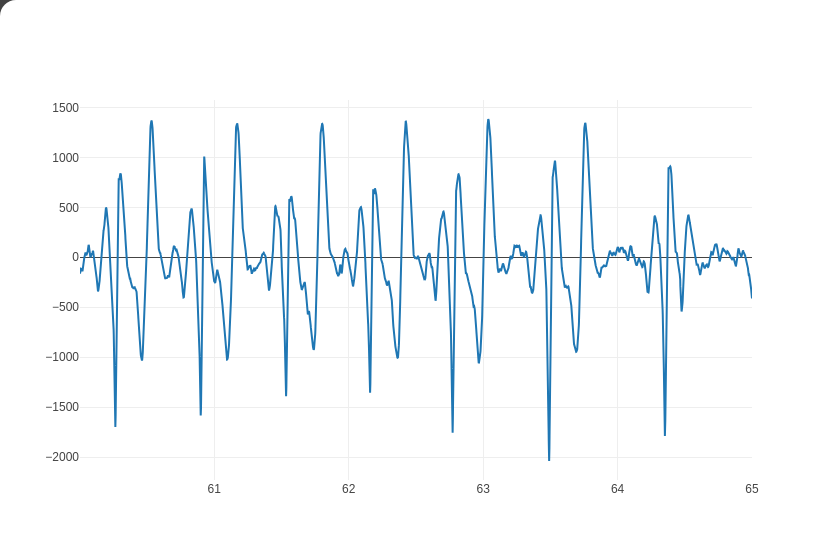
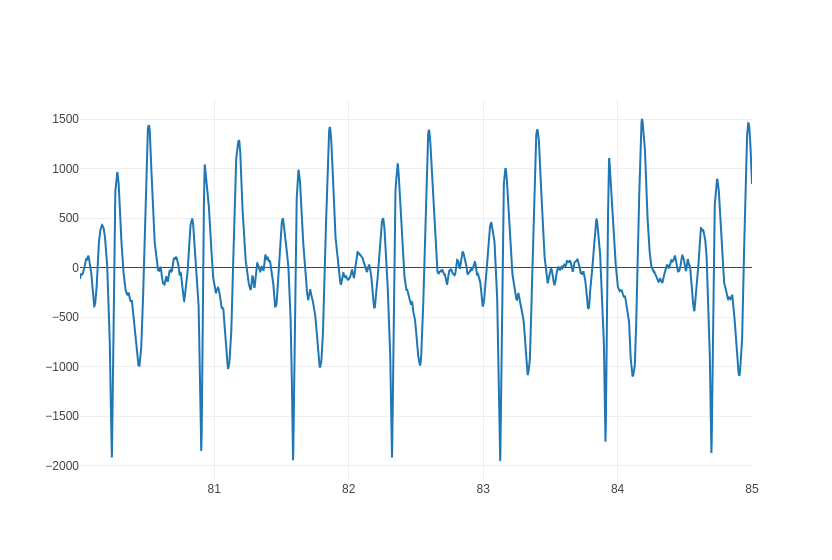
For reference, this is what bad EKG's can look like
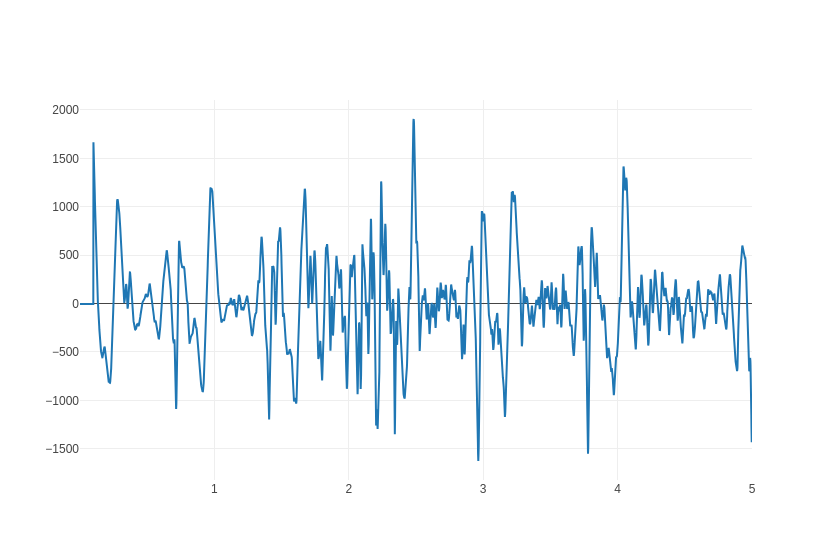
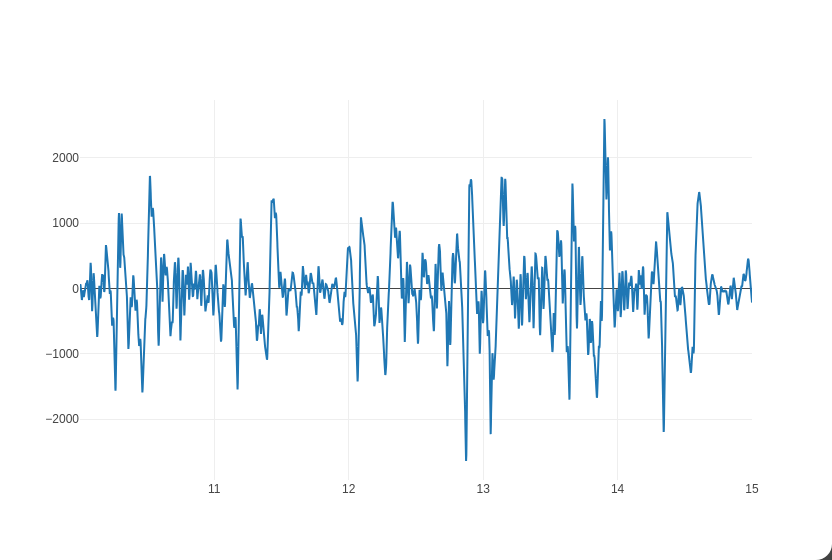
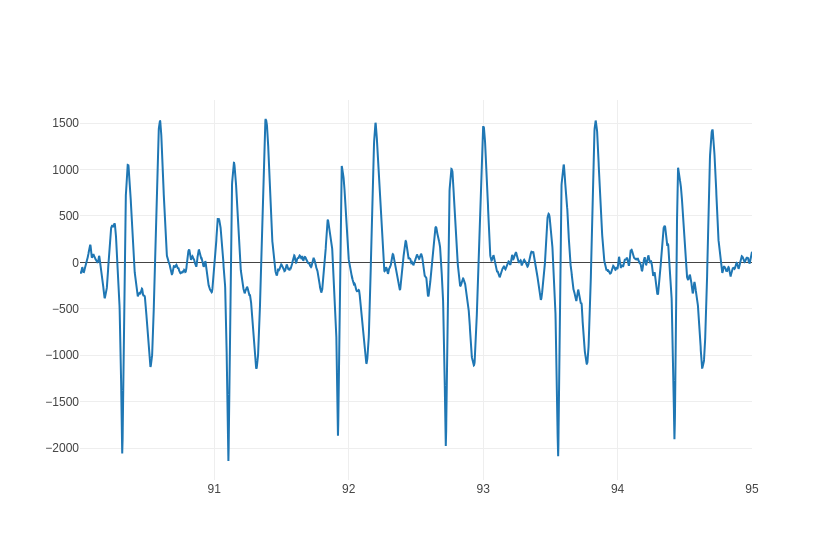
And this is what good EKG's can look like
When you figure out if the chunk holds a good or a bad EKG signal, you need to press the corresponding button (either "Good" or "Bad")

In this example, the signal is clearly good, so we press "Good"
This is mark off the chunk in the bitfield and move us onto the next chunk
Now, repeat this until you reach the end of the file
When you finish labeling the entire bitfield, it should look something like this
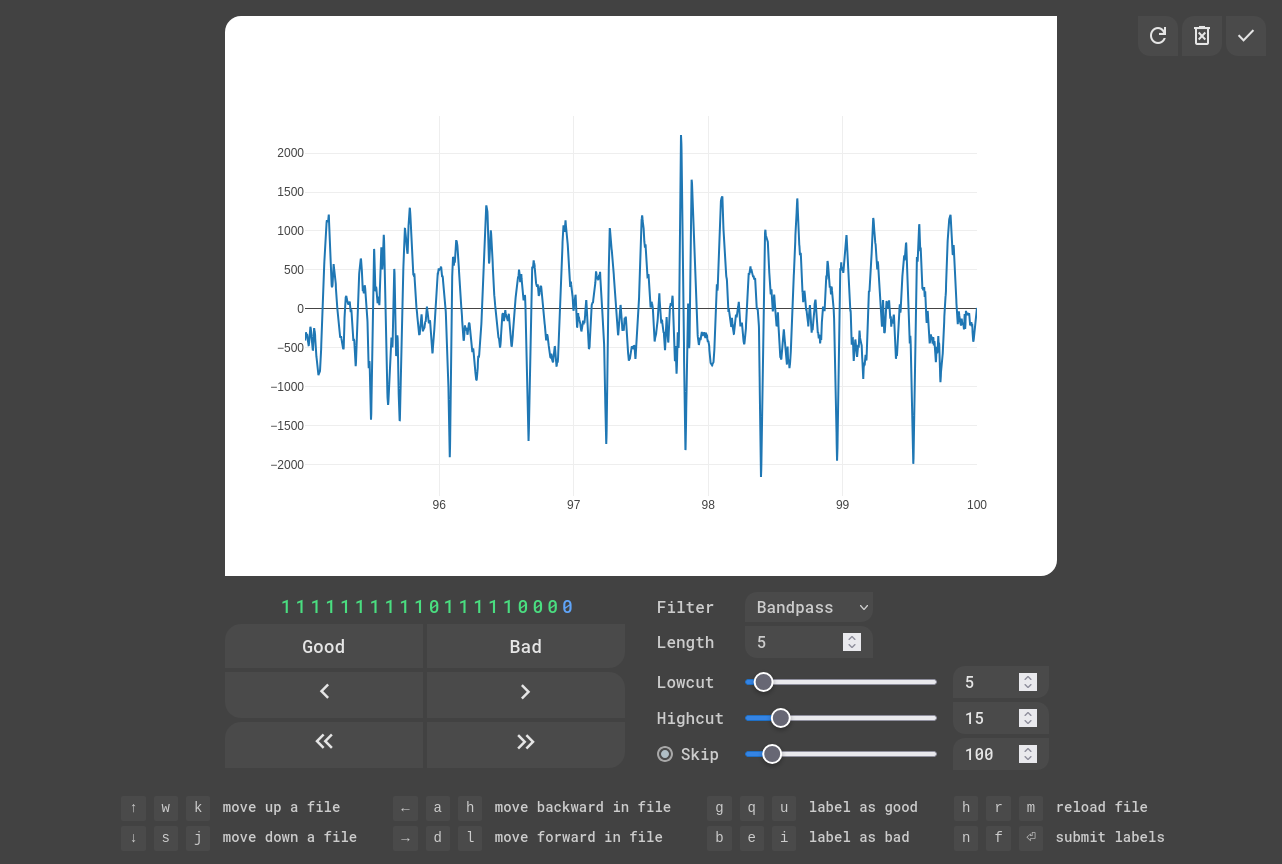
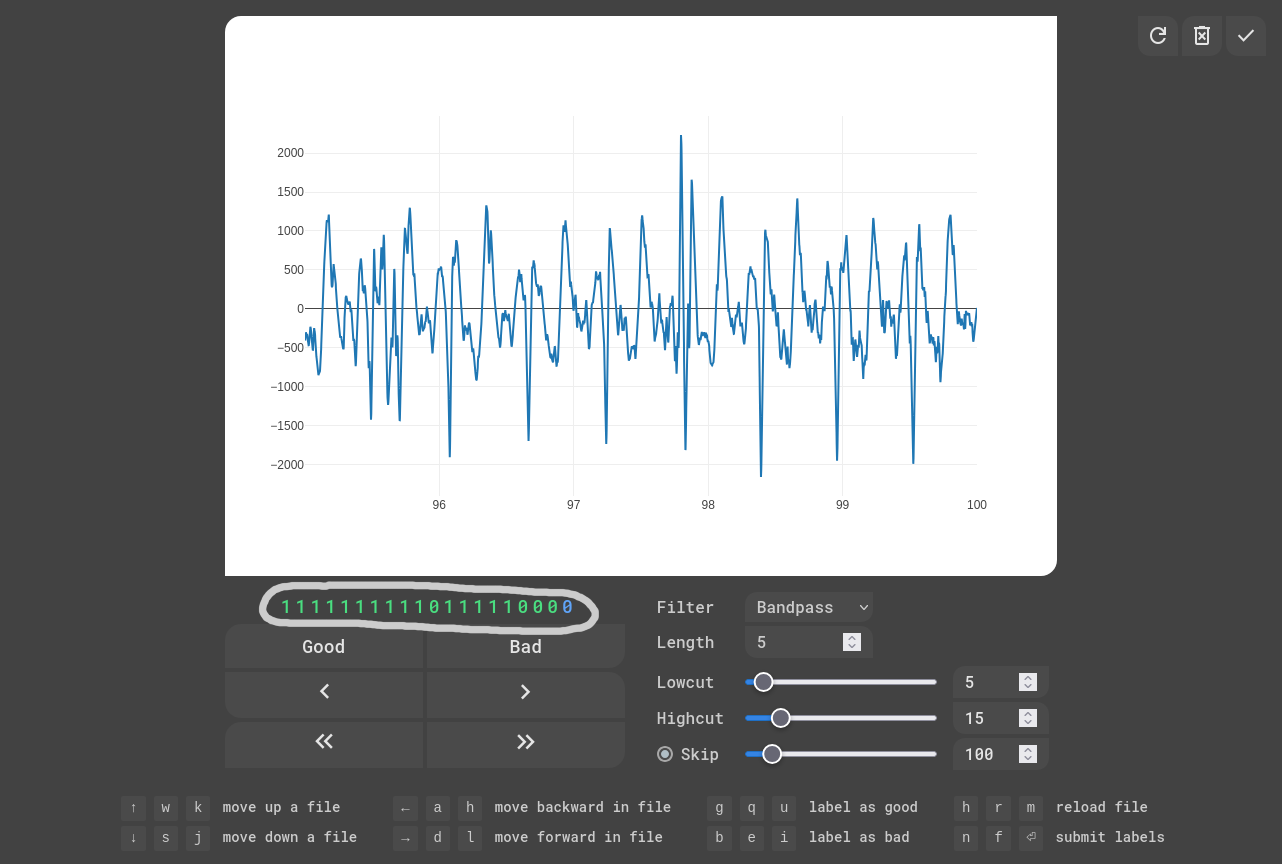
Make sure the entire bitfield is filled with only 1's and 0's, there can be no more question marks left
And if you accidentally skip over a question mark, you can always go back to it by clicking on it
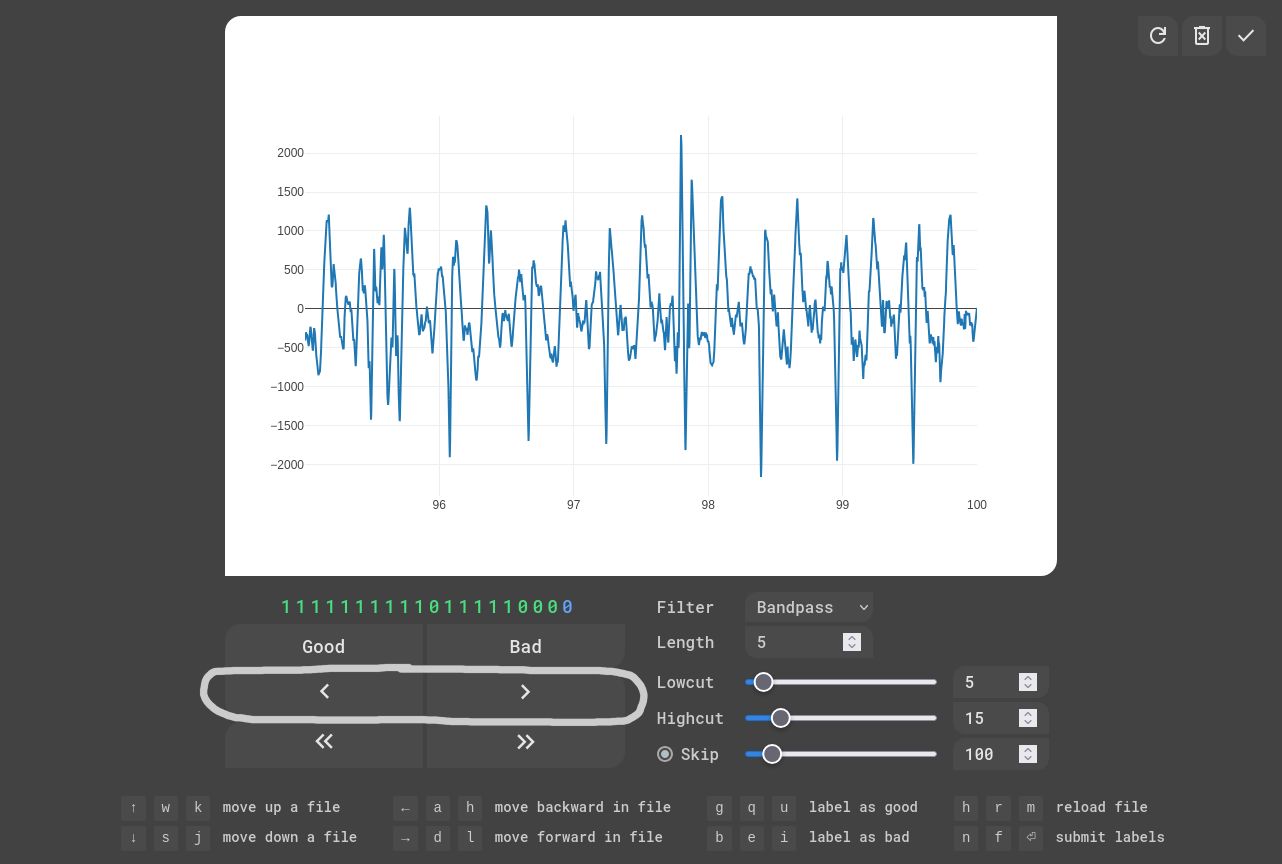
You can also navigate the bitfield using these single arrows
When you're finished with the whole file however, you still need to submit it using the checkmark in the top right corner
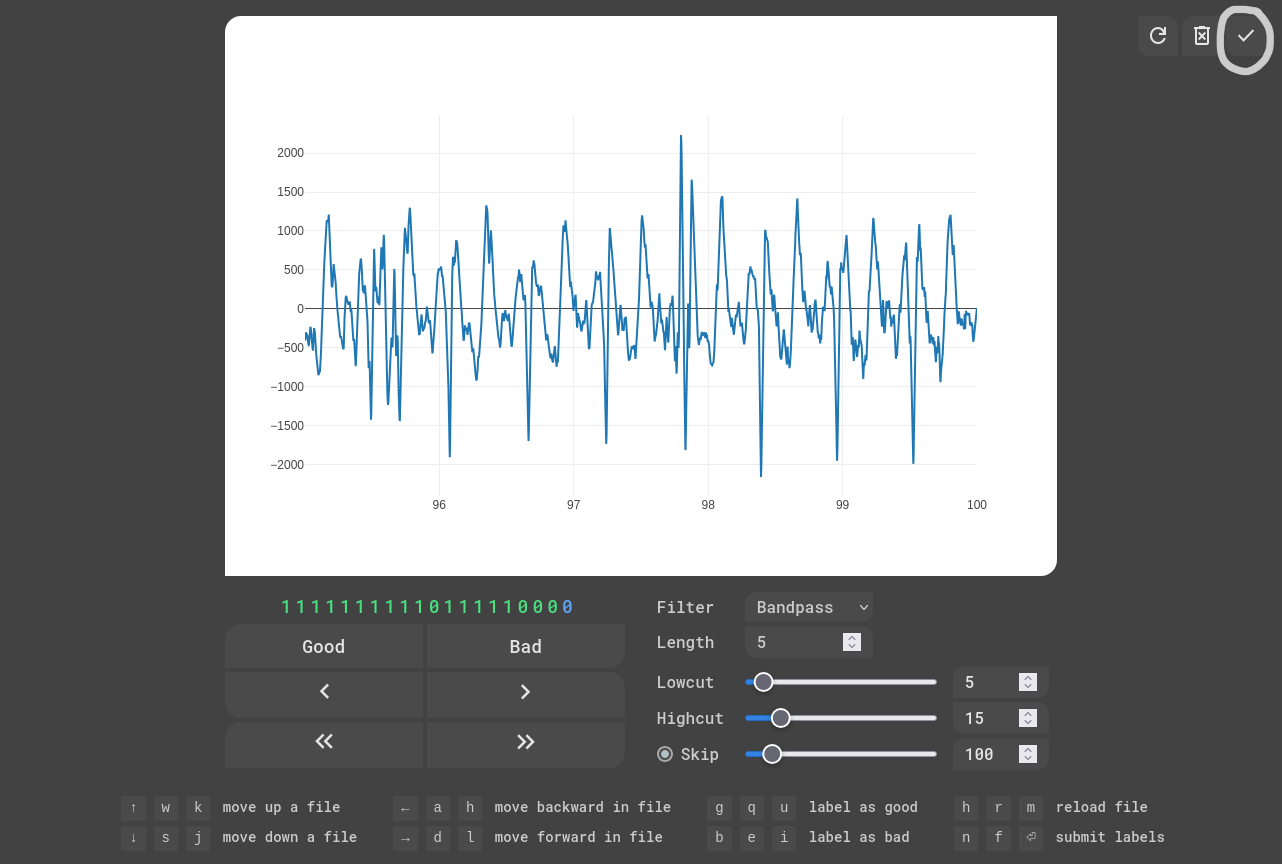
If you've done everything correctly and the server encounters no errors, it should automatically move you onto the next file and mark the current file green
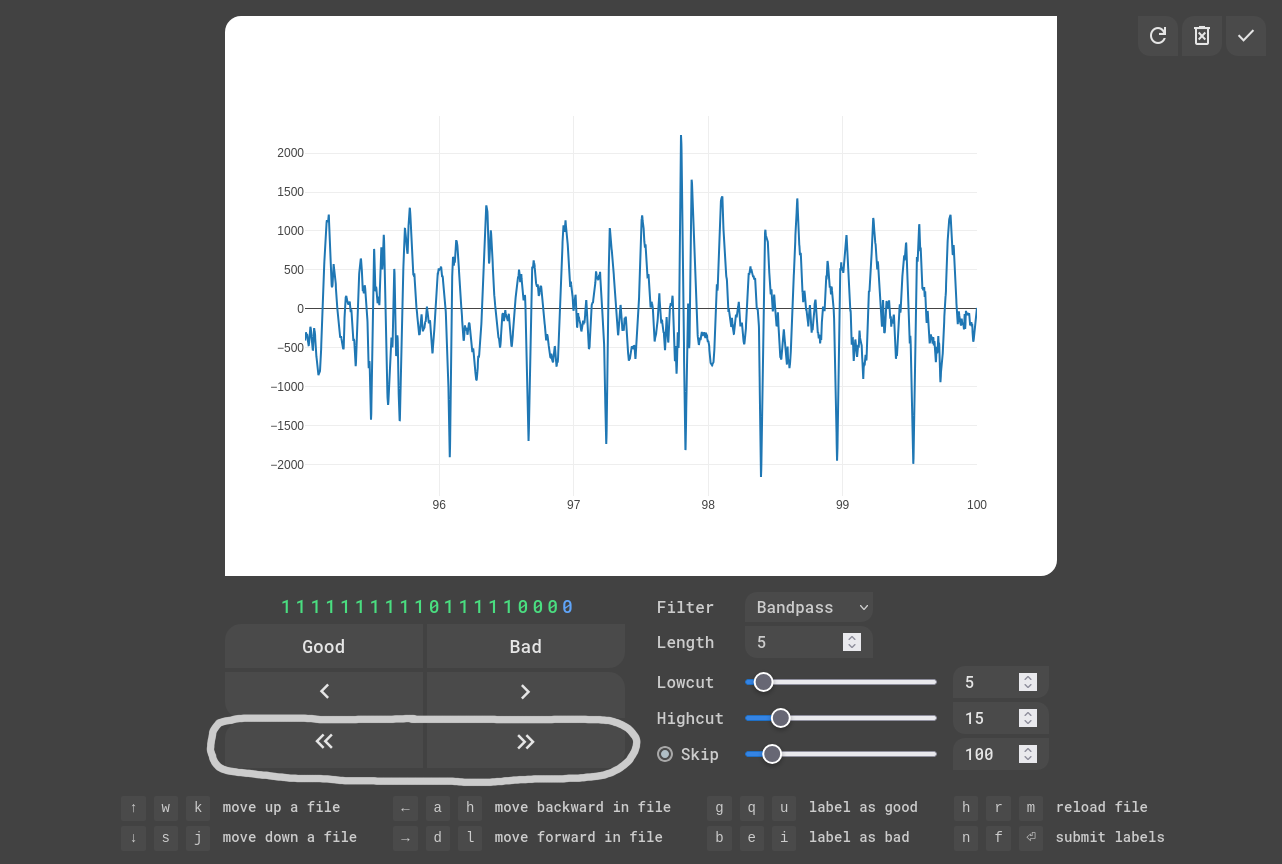
You can also move onto the next file using the double arrows
Special functionality
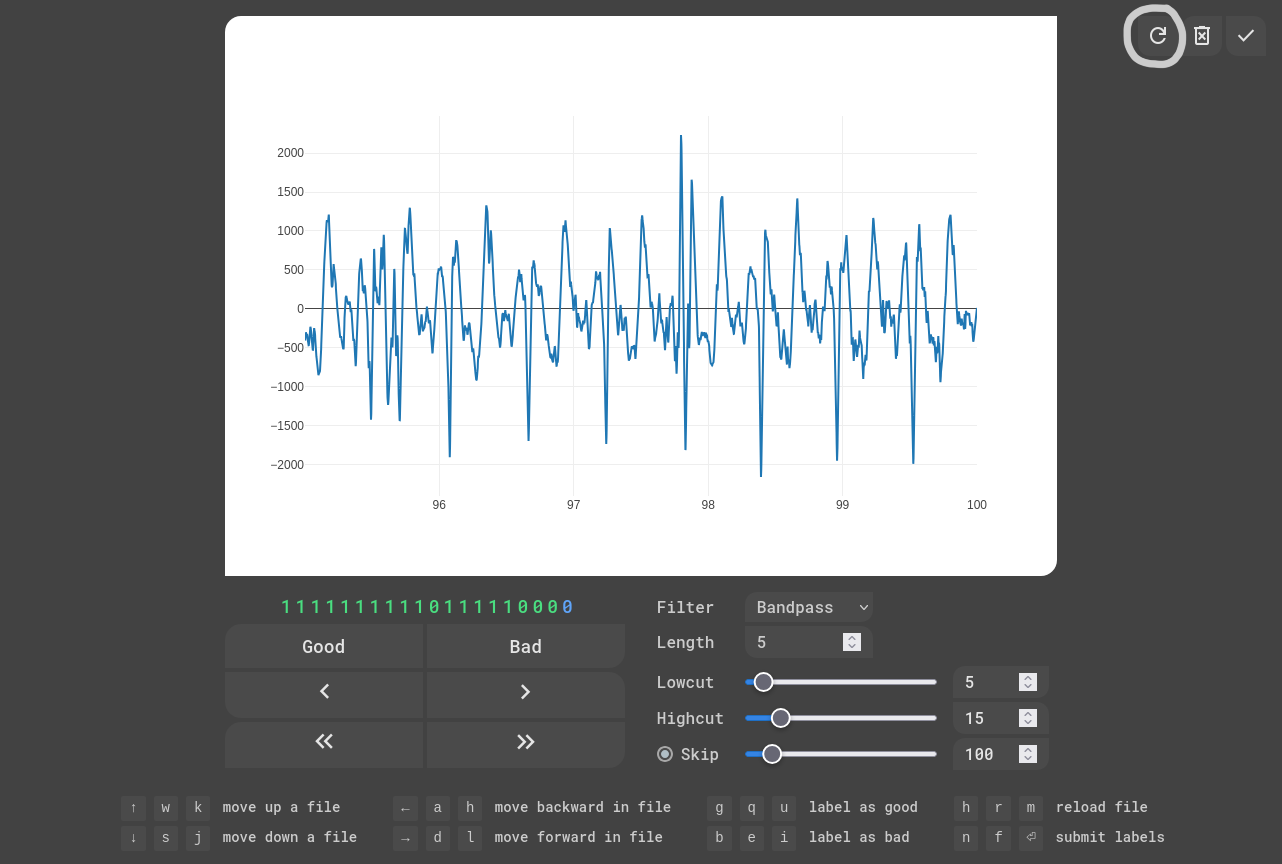
You can reload the current file using the reload button in the top right corner
And you can also delete the current bitfield using the delete button in the top right corner (only use in emergencies)
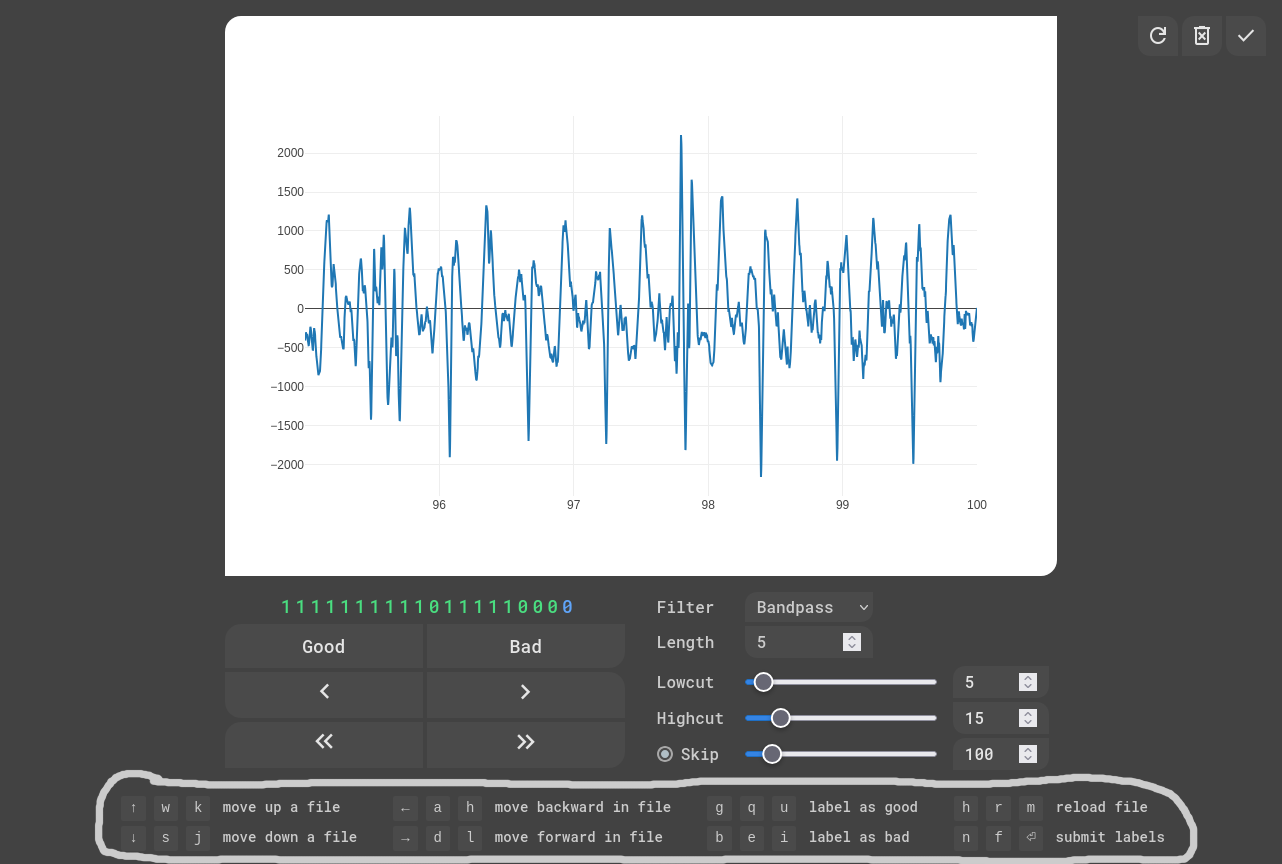
To speed up the process, keybinds were implemented to navigate and invoke actions (they're all written down at the bottom)
For example, you can use g to label the current chunk as good
Good luck!